Diagnosing DTF Printer Headboard Failure: A Step-by-Step Guide
Share
Diagnosing DTF Printer Headboard Failure: A Step-by-Step Guide
If you're encountering issues such as missing channels on your nozzle check or no ink flow through the printhead, the headboard may be at fault. This guide provides a clear, professional approach to diagnosing and resolving headboard-related issues in your DTF printer.
1. Safety First
Before starting any troubleshooting, ensure the printer is powered off to avoid electrical shorts or damage to the components. Always work with caution when handling electrical connections.
2. Inspect the Headboard 
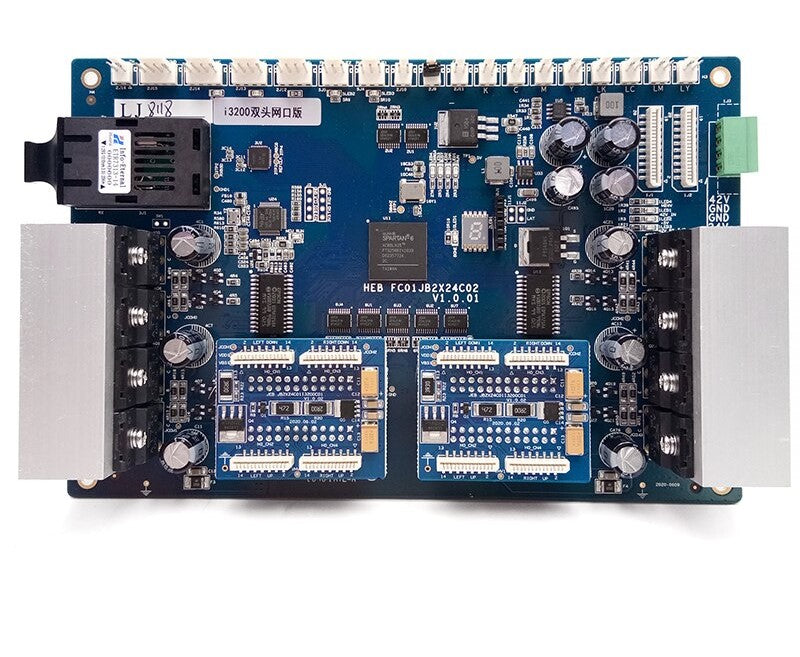
Once the printer is powered off and safe to work on, remove the panel covering the headboard to gain access. A crucial diagnostic step is to check for any flashing red lights on the headboard, which can indicate a hardware issue.
- Flashing Red Light/Error Code: A flashing red light on the headboard typically signals a hardware-related problem, such as a connection failure or communication issue. The specific pattern of the flashing light may correspond to a particular error code, which helps identify the root cause of the issue.
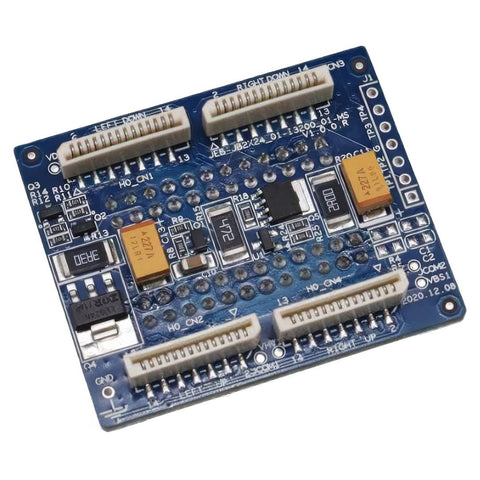
At this point, we need to diagnose further to determine whether the issue is with the printhead, communication cables, the mainboard, or the adapter board that sits on the mainboard.
3. Check the Printhead and Communication Cables
-
Free the Printhead: Press the left button to release the printhead from the capping station. Once the ink wiper moves down, the printhead should move freely without obstruction. Turn off the printer once this is done.
-
Inspect Printhead Connections: Remove the front cover where the dampers are located. Inspect the printhead connections carefully to ensure none of the cables are loose or disconnected. A loose or damaged connection here could prevent proper ink flow.
-
Examine the Mainboard: Inspect the mainboard and the communication cables connected to the adapter boards. Ensure that all cables are securely connected and show no signs of wear or damage.
4. Power Up and Check for Error Codes
With the connections checked, turn the printer back on and see if the flashing red error code clears. If the error code disappears, this suggests that the issue was a loose or faulty connection, and the problem is resolved.
- Error Code Persists? If the red error light remains flashing, further investigation is required.
5. Test the Adapter Board 
Turn off the printer again and manually move the printhead out of the capping station. Now follow these steps:
-
Disconnect the Communication Cables: Disconnect all communication cables from the mainboard and adapter boards, leaving only one printhead connected at a time.
-
Power On and Test Each Printhead: Turn on the printer with only one printhead and its corresponding cable connected. This step helps isolate which printhead or cable might be causing the issue.
-
Check for Error Code: After each test, check whether the red error light goes off. If the error light disappears when a specific printhead is disconnected, the problem likely lies with the adapter board connected to that printhead.
6. Inspect the Cables for Ink Contamination
If you suspect the issue is with the cables, inspect them for any signs of ink leakage, especially where they connect to the printhead. If you find any ink contamination or visible damage:
-
Replace the Cables: Swap out any damaged or contaminated cables and reconnect them to the printhead and adapter board.
-
Power On the Printer: Turn the printer back on to see if the error code clears. If the error code disappears, you’ve resolved the issue with a faulty communication cable.
7. Replace the Adapter Board
If the error code persists even after replacing the cables, the adapter board may be defective. To confirm:
-
Swap the Adapter Board: Replace the adapter board with a new one, making sure all cables are correctly reconnected.
-
Turn On the Printer: Power up the printer and check if the red error light is still flashing. If the error code disappears, the faulty adapter board was the issue.
8. Final Confirmation
If the error code remains after replacing the adapter board, perform the following final test:
-
Remove All Adapter Boards: Turn off the printer and disconnect all adapter board components.
-
Power On the Printer: Turn the printer on and let it complete its startup process. If the red error light goes off, the issue was likely with the adapter board, and replacing it will resolve the problem.
-
Error Code Still Present? If the red error light continues to flash, the headboard itself may be defective and in need of replacement.
By following this systematic approach, you can confidently diagnose and address any headboard-related issues in your DTF printer. Always remember to power off the printer when handling electrical components to avoid damage, and be thorough in checking all connections to ensure a proper fix.
